A (human) index that likes to code
Also drinks way too much coffee ![]()
Tutorial: ESP32 to AWS IoT to AWS DynamoDB (Part III)
Published Sep 05, 2019 19:30
In theory, this tutorial is out of scope if we’re talking about the title; however, this tutorial is crucial, because it completes the entire IoT stack. In this tutorial, you will be building on whatever you have done in Part I and Part II, to build application logic that makes decisions and commands the IoT actuators based on information obtained via sensors.
Pre-requisites
The previous tutorials, Part I and Part II, must be done.
Step One
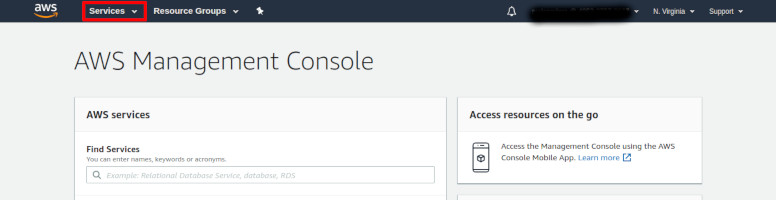
- Login to the AWS Mangement Console.
- Click on Services > IAM (found under the section “Security, Identity & Compliance).
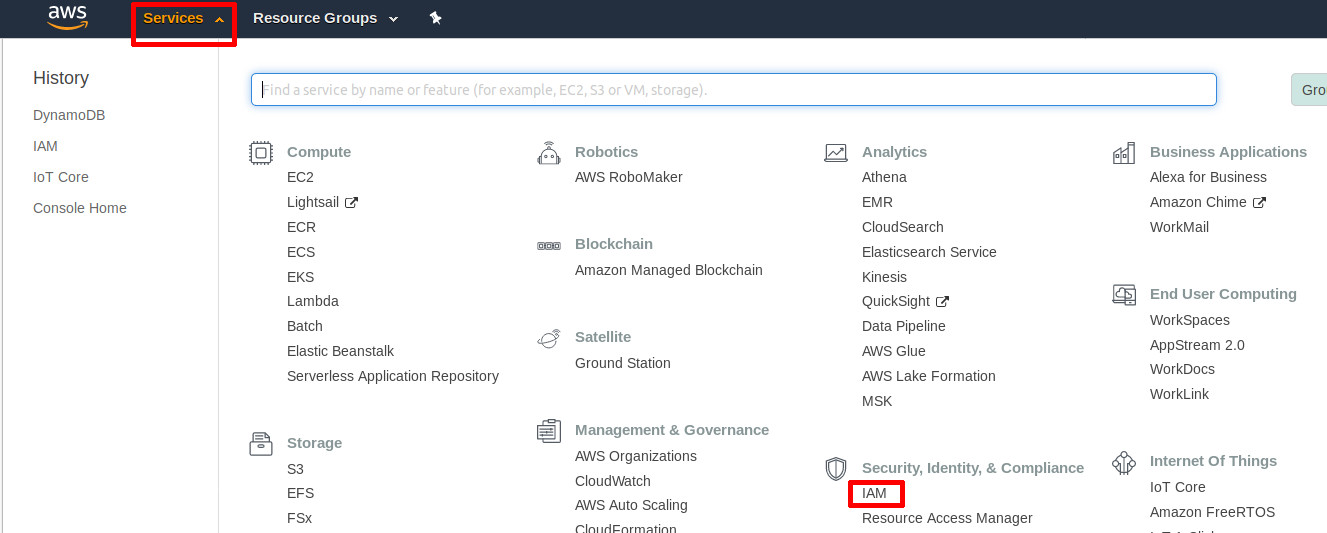
Click on IAM | Source: Me
- On the sidebar, click on Roles.
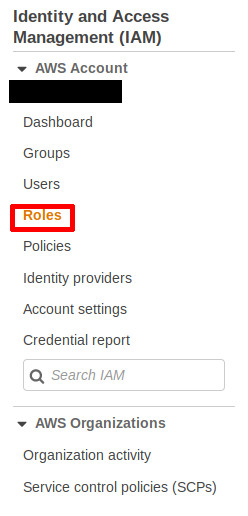
Roles | Source: Me
- Click on Create role.
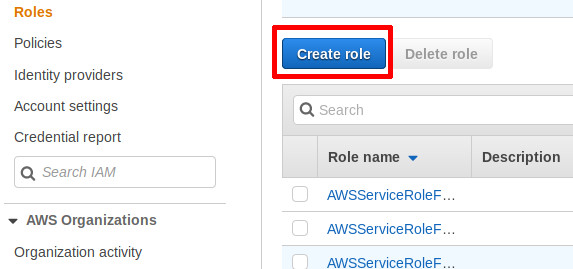
Create a role | Source: Me
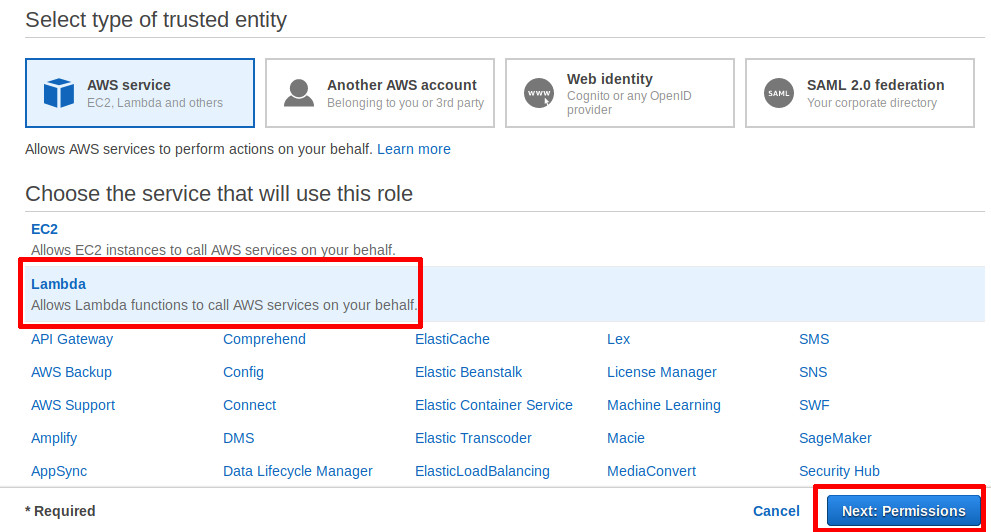
- Click on Lambda under the Choose the service that will use this role. Then, click on Next: Permissions.
Choosing the service to use the role | Source: Me
- Search and select the policies: “AWSLambdaBasicExecutionRole”, “AmazonDynamoDBFullAccess”, and “AWSIoTDataAccess” from the policy search bar. Then, click Next: Tags.

AWSLambdaBasicexecutionRole | Source: Me
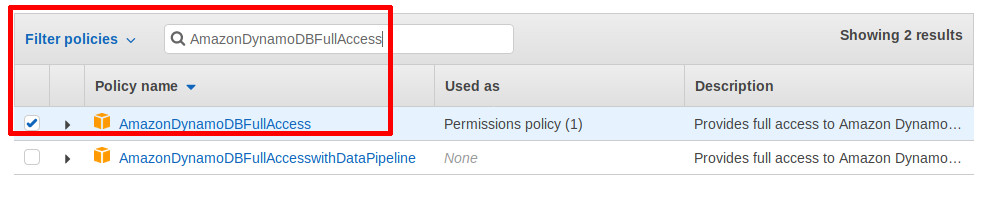
AmazonDynamoDBFullAccess | Source: Me
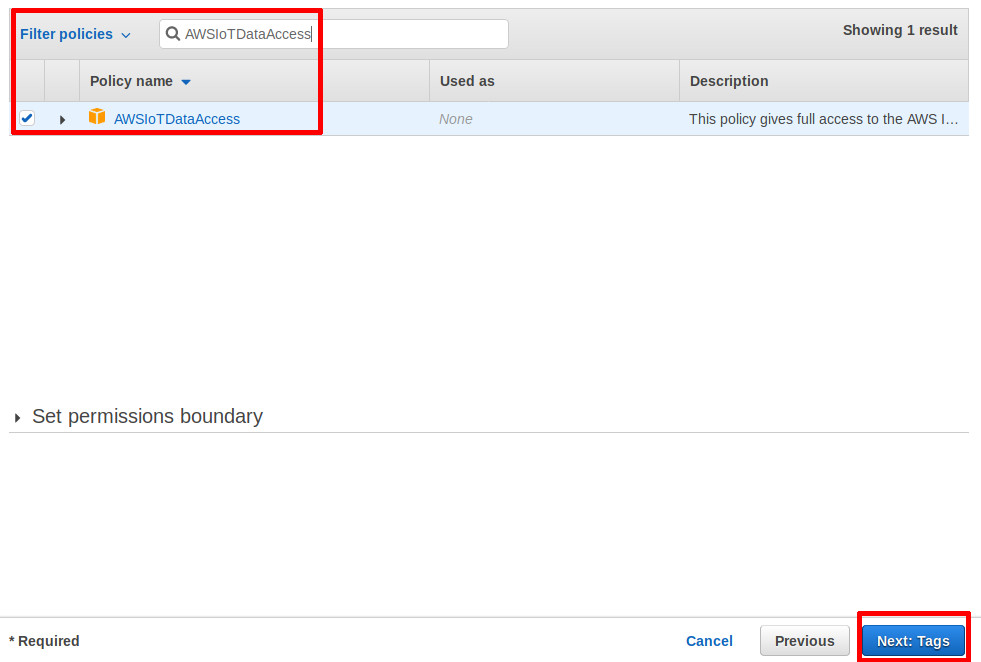
AWSIoTDataAccess | Source: Me
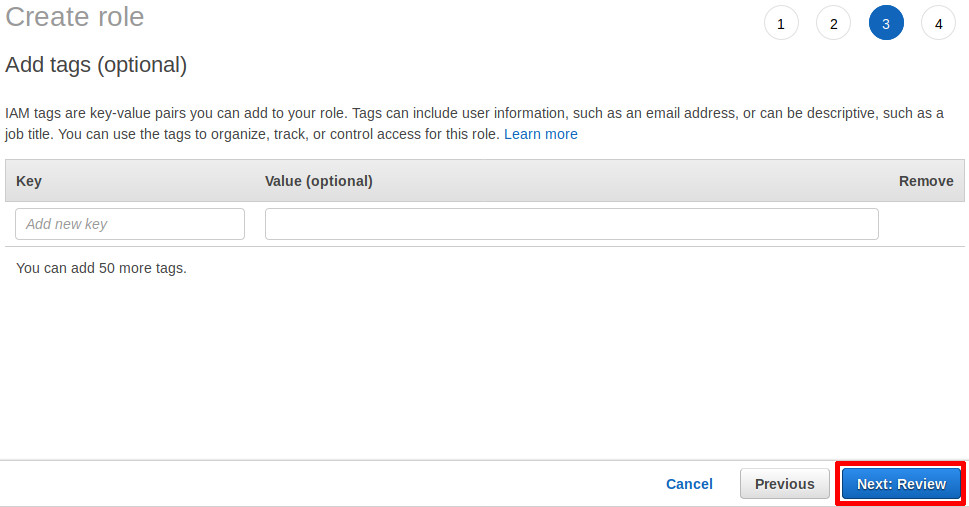
- Click on Next: Review.
Next: Review | Source: Me
- Name the role whatever you wish (Field: Role name). For the purposes of this tutorial, it will be named “lambda-role”. Then, click on Create role.
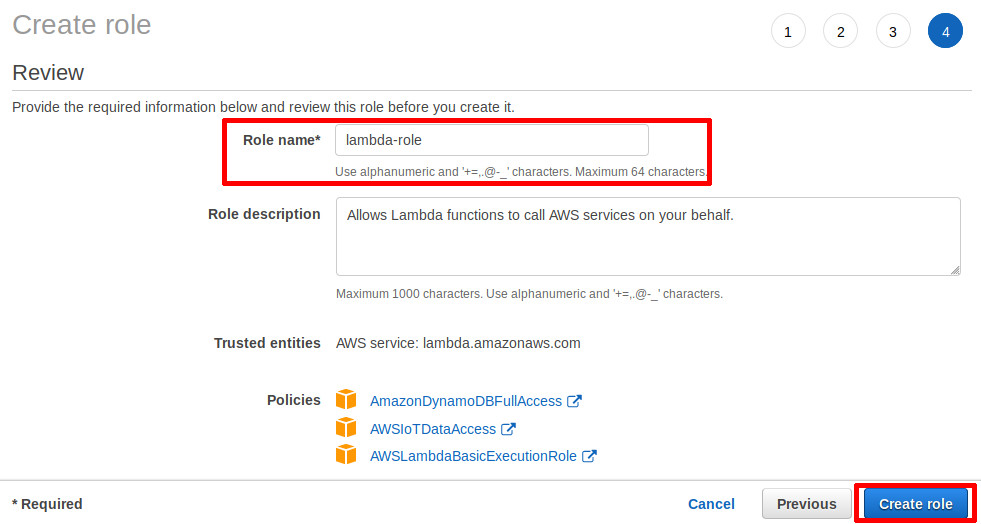
Create the role with a name | Source: Me
- Click on Services > Lambda (found under the section “Compute”)
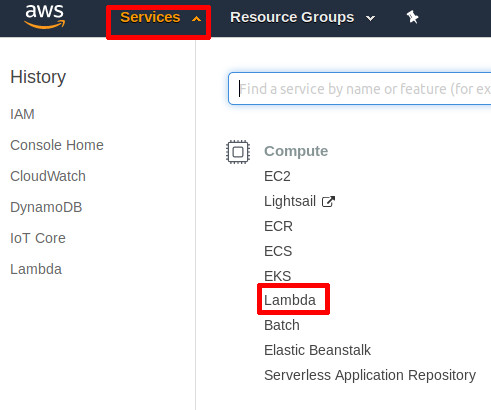
Click on Lambda | Source: Me
- Click on Create a function if you are a new user, or Create function if you already have some lambda functions on your account.
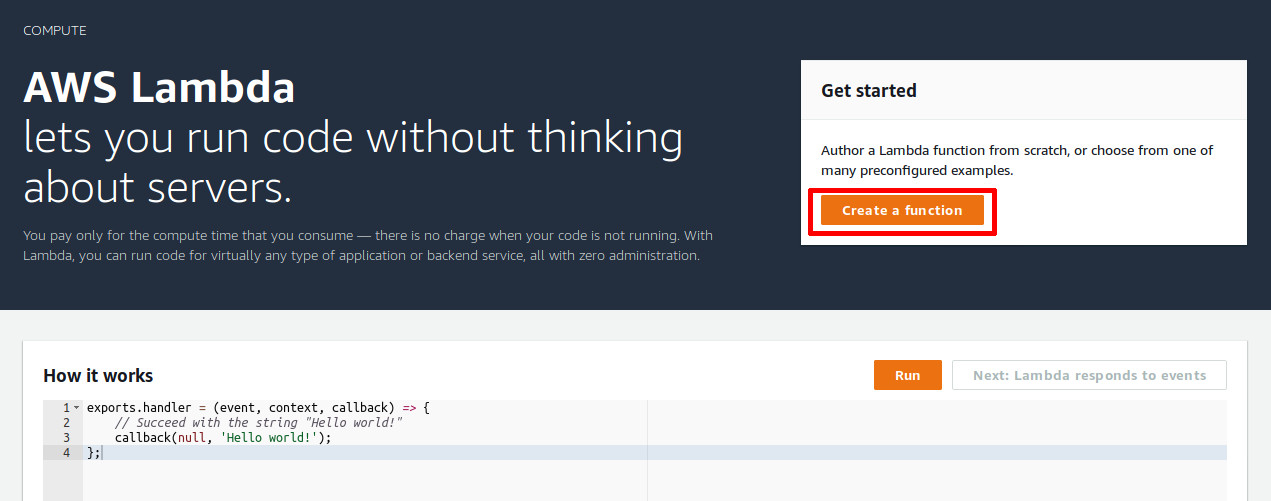
Creating a function for new users | Source: Me
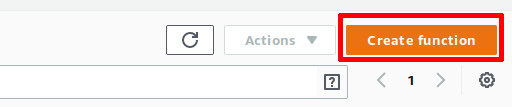
Creating a function for existing users | Source: Me
- Name the function whatever you wish (Field: Function name). For the purposes of this tutorial, it will be named “iot-lambda”. Then, select the role created earlier in step 9, under the Existing role dropbox. You may have to click a dropdown link (Choose or create an execution role) to reach this setting. Finally, click on Create function.
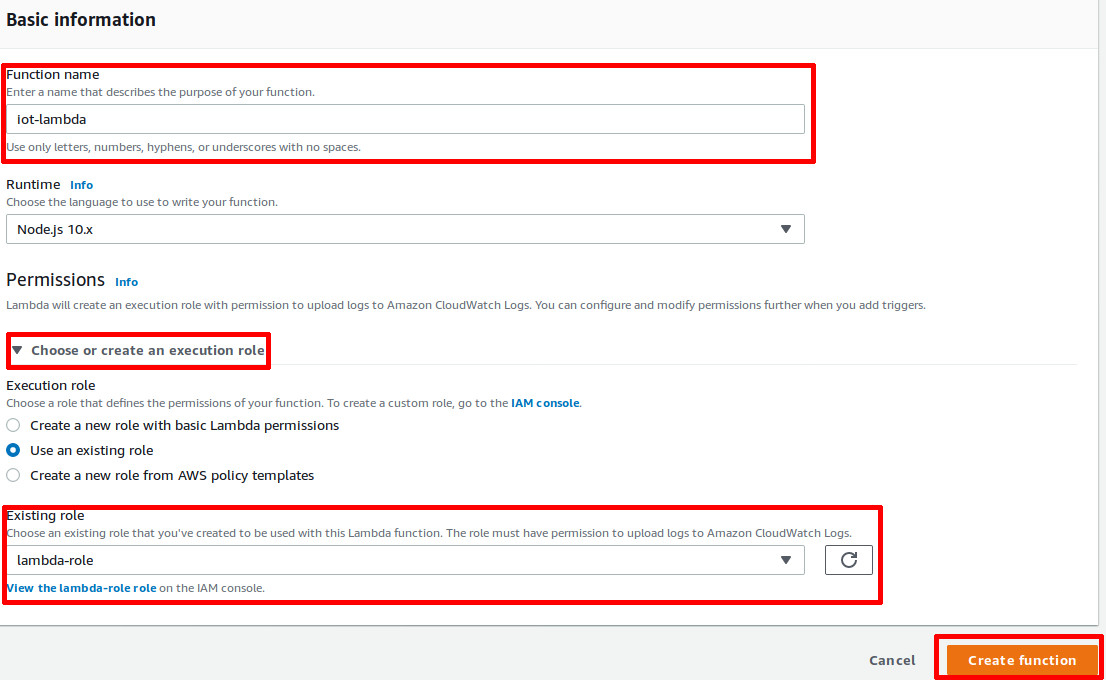
Fill in the fields, and create the function | Source: Me
- Fill the code editor with code from this gist.
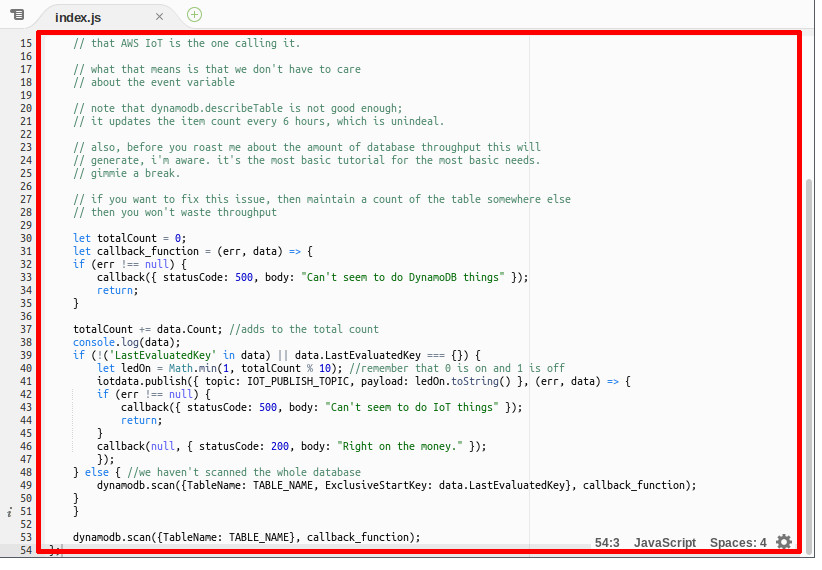
Fill in the code for the lambda function | Source: Me
- Set the environment variables,
TABLE_NAME,IOT_ENDPOINT, andIOT_PUBLISH_TOPICbased on the DynamoDB table name, your IoT endpoint, and the topic subscribed by the ESP32.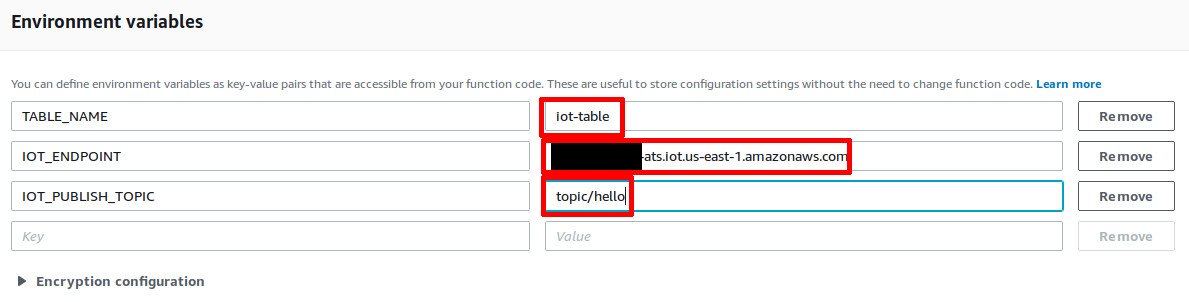
Set environment variables | Source: Me
- Click on Save, at the top right of the screen.
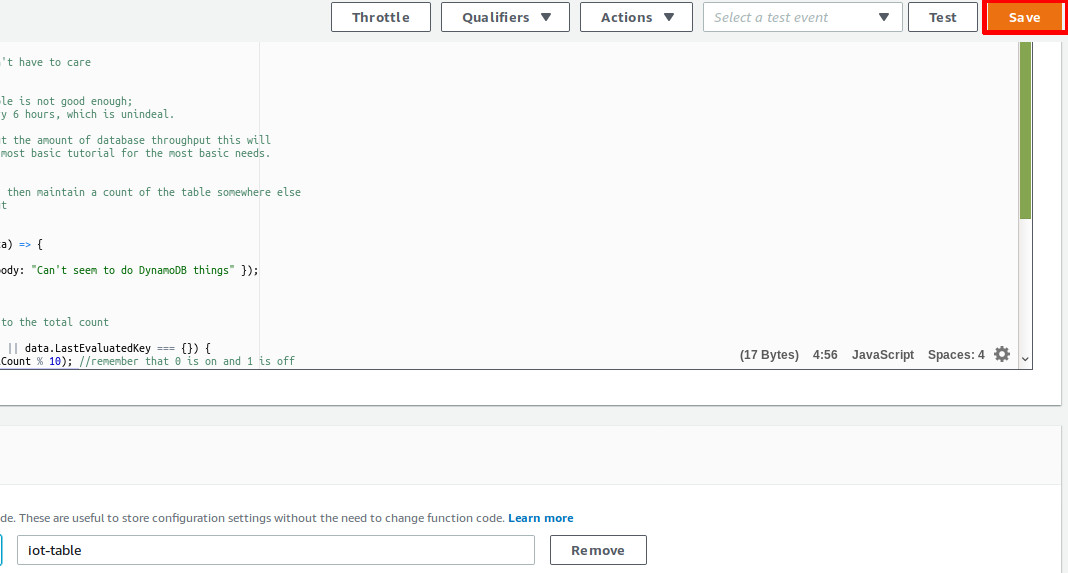
Save the lambda function | Source: Me
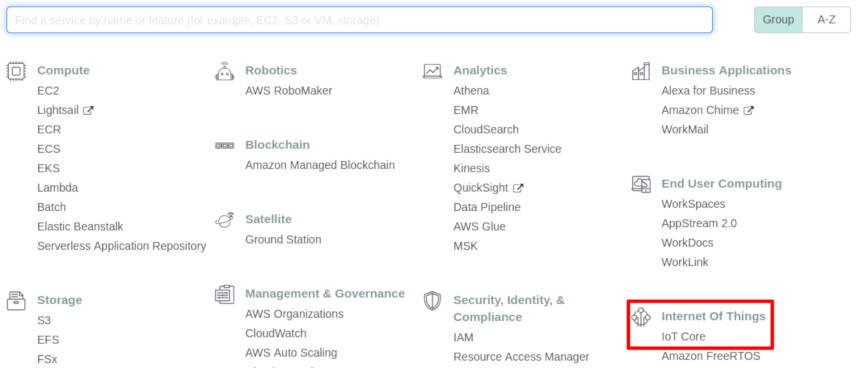
- Click on Services > IoT Core (found under the section “Internet of Things”)
Click on IoT Core | Source: Me
IoT Core | Source: Me
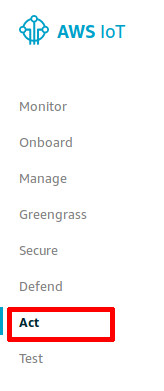
- On the sidebar, click on Act
Act | Source: Me
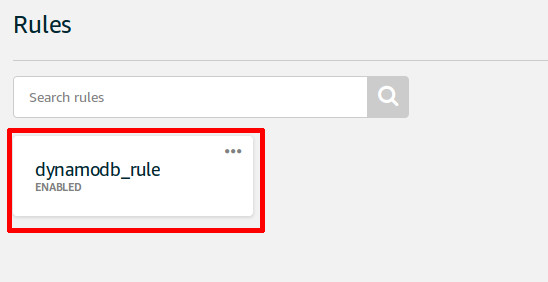
- Click on the IoT rule you have created in Part II. If you have not done part II, please do it now.
Click on IoT rule created previously
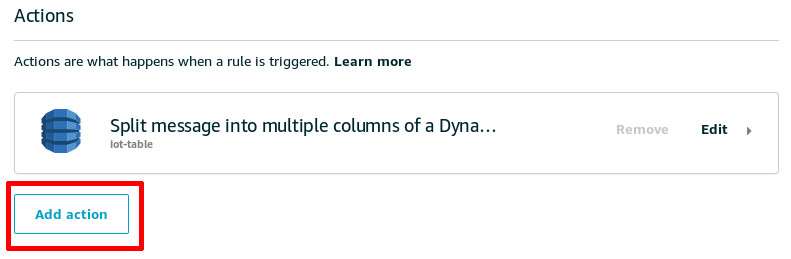
- Click on Add Action, under the Actions section.
Add another action | Source: Me
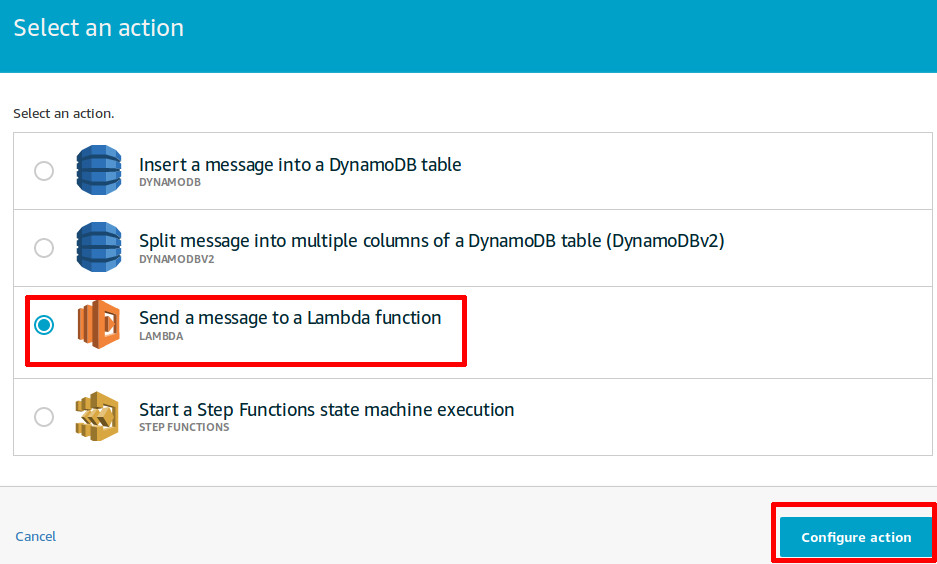
- Select Send a message to a Lambda function, and click on Configure Action at the bottom of the page.
Adding a lambda action | Source: Me
- Under the Function name field, click on Select, then find the function created earlier in step 11, and click Select on the corresponding entry. Finally, click on Add Action.

Select the correct lambda function | Source: Me
Step Two
Similar to how it was done in Part II, go to the DynamoDB table and refresh the contents. Count the number of records currently on the table, and press the ‘BOOT’ button on the ESP32 until that count reaches a multiple of 10. The led of the ESP32 should light up only when there is a multiple of 10, otherwise, it will be turned off.
The lambda script you pasted earlier is in charge of causing this to happen; firstly, it will obtain device data. Then, it will make a decision based on the device data; in this case, “is the number of records a multiple of 10? If so, turn on the led, else, turn it off”.
Try connecting multiple ESP32s to the same topics, and see what happens when one of the devices are used to make the number of records reach a multiple of 10!
Conclusion
Congratulations! You have made a full IoT application, starting from Part I: Controlling stuff, to Part II: Collecting data and finally, to Part III: Making decisions. Experiment with this a little bit more, and build the next big thing; you now have the basic skills required to do that on AWS!
If you found this trilogy useful, please do share it with your friends.
Until next time!
Happy Coding,
CodingIndex